Ensuring the safety of your home is paramount, and two critical components in achieving this are proper lighting and effective smoke alarms. led down light installation and smoke alarm installation are fundamental aspects of home safety that every homeowner should prioritize. In this comprehensive guide, we will walk you through the process of installing LED downlights and smoke alarms, providing you with valuable insights and step-by-step instructions to ensure a successful and safe installation.
Part 1: LED Downlight Installation
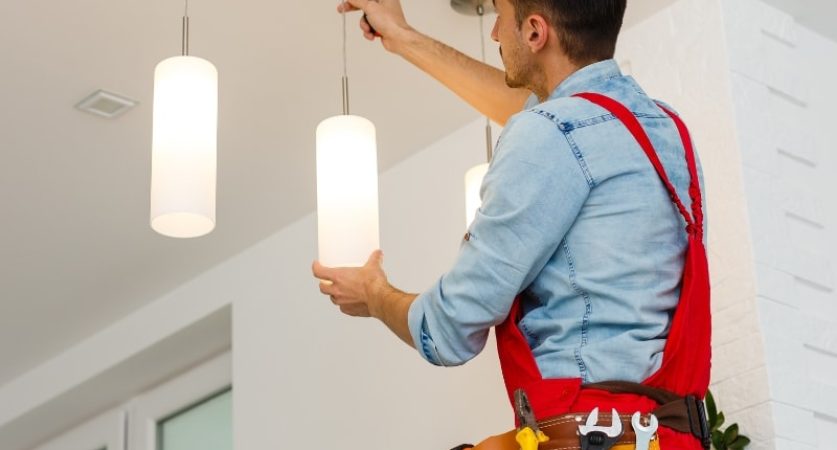
LED downlights are a popular choice for homeowners due to their energy efficiency, longevity, and versatility in lighting options. Installing LED downlights is a relatively straightforward process that can greatly enhance the ambiance and functionality of any space in your home.
Step 1: Planning and Preparation Before beginning the installation process, it’s essential to plan the placement of your LED downlights carefully. Consider factors such as the size of the room, the desired lighting intensity, and any existing wiring or fixtures that may impact your installation.
Step 2: Turn Off Power Safety should always be your top priority when working with electrical fixtures. Begin by switching off the power to the area where you will be installing the LED downlights at the circuit breaker.
Step 3: Mark the Installation Points Using a pencil or marker, mark the locations on the ceiling where you intend to install the LED downlights. Ensure that the placement is symmetrical and aligns with your initial planning.
Step 4: Cut Openings for Downlights Using a hole saw or a suitable cutting tool, carefully cut openings in the ceiling at the marked locations for the LED downlights. Take precise measurements to ensure the openings are the correct size for the downlights.
Step 5: Install Wiring and Fixtures If you are replacing existing fixtures with LED downlights, disconnect the old fixtures and remove them carefully. Then, install the wiring and mounting fixtures for the LED downlights according to the manufacturer’s instructions.
Step 6: Insert LED Downlights Once the wiring and fixtures are in place, carefully insert the LED downlights into the openings in the ceiling. Secure them in position using the provided clips or mounting hardware.
Step 7: Connect Wiring and Test Connect the wiring of the LED downlights to the electrical supply, following the manufacturer’s guidelines and local electrical codes. After ensuring all connections are secure, switch on the power and test the downlights to ensure they are functioning correctly.
Step 8: Finishing Touches Once you have confirmed that the LED downlights are working correctly, complete the installation by securing any loose wiring, patching up any ceiling openings, and ensuring that the downlights are properly aligned and positioned.
Part 2: Smoke Alarm Installation
Smoke alarms are essential devices that can save lives by providing early warning of potential fires in your home. Proper installation and maintenance of smoke alarms are crucial to their effectiveness in keeping you and your family safe.
Step 1: Choose the Right Location Selecting the appropriate locations for smoke alarms is key to their effectiveness. Install smoke alarms in every bedroom, outside each sleeping area, and on every level of your home, including the basement.
Step 2: Check Local Regulations Before installing smoke alarms, familiarize yourself with local building codes and regulations regarding their placement and installation requirements. Compliance with these regulations is essential for ensuring the safety and legality of your installation.
Step 3: Turn Off Power As with any electrical installation, safety should be your primary concern. Before installing smoke alarms, switch off the power to the area where you will be working at the circuit breaker.
Step 4: Mount Smoke Alarms Using screws and anchors suitable for your ceiling or wall type, mount the smoke alarms in the selected locations. Ensure that the alarms are securely attached and that they are positioned at the recommended height from the ceiling or wall surface.
Step 5: Test Smoke Alarms Once the smoke alarms are installed, test each unit to ensure they are functioning correctly. Follow the manufacturer’s instructions for testing and maintenance, which typically involve pressing a test button to activate the alarm sound.
Step 6: Connect Alarms If your smoke alarms are interconnected, follow the manufacturer’s instructions for connecting them to ensure they can communicate with each other in the event of a fire. This feature allows all alarms to sound simultaneously when one detects smoke or fire.
Step 7: Replace Batteries Smoke alarms are typically powered by batteries, so it’s essential to replace them regularly to ensure continued functionality. Follow the manufacturer’s recommendations for battery replacement intervals and use only high-quality batteries.
Step 8: Regular Maintenance Perform regular maintenance checks on your smoke alarms to ensure they are in good working condition. Test the alarms monthly, clean them periodically to remove dust and debris, and replace them according to the manufacturer’s recommended lifespan.
Conclusion
LED downlight installation and smoke alarm installation are crucial aspects of home safety that every homeowner should prioritize. By following the step-by-step instructions outlined in this guide and paying close attention to safety precautions, you can ensure a successful and effective installation of LED downlights and smoke alarms in your home. Remember, investing in proper lighting and early warning systems can provide invaluable peace of mind and protection for you and your loved ones.